3D printed miniature for tabletop gaming. From Wikimedia Commons, CC BY-SA 4.0.
Introduction
Desktop FDM printers with build volumes in the 220×220×250 mm range are capable of producing a wide variety of functional and decorative objects. The five projects below represent different application categories — from workshop tooling to hobbyist figures — each with distinct material requirements and printing considerations.
All projects can be sourced from open model repositories such as Printables (prusaprinters.org), Thingiverse, or Printables without cost. Where specific model files exist, they are noted by general repository reference rather than pinned links, since repository URLs change over time.
Project 1: Raspberry Pi Enclosure
Single-board computer enclosures are among the most consistently produced categories of FDM prints. A Raspberry Pi 4 enclosure with integrated passive cooling fins and GPIO access cutouts serves as a practical introduction to functional part design.
Material and Settings
| Parameter | Recommendation |
|---|---|
| Material | PETG or ABS (heat near board) |
| Layer height | 0.2 mm |
| Infill | 25%, gyroid |
| Perimeters | 3 |
| Supports | Not required for most enclosure designs |
PETG is recommended over PLA because the Raspberry Pi 4 board can reach surface temperatures that approach PLA's glass transition temperature under sustained load. ABS provides additional margin for boards under heavy computation.
Polish maker forums (including Polish-language sections of the Drukarka 3D community) have documented the use of Spectrum PETG Black for this application, citing consistent dimensional accuracy on the port cutouts.
Project 2: Workshop Wall Organiser System
Modular wall organisers with interlocking clip or rail systems allow tools and accessories to be stored on pegboard or directly on wall-mounted rails. Common implementations include hex-grid panels, French cleat accessories, and bracket sets for specific tool categories.
Design Considerations
- Print orientation matters for hook strength — hooks printed lying flat have better layer adhesion perpendicular to load direction than hooks printed vertically
- For heavy tools, increase perimeter count to 5–6 and infill to 40–60%
- PLA is generally adequate for indoor workshop environments at typical Central European temperatures
Material and Settings
| Parameter | Recommendation |
|---|---|
| Material | PLA+ or PETG |
| Layer height | 0.2–0.3 mm |
| Infill | 40% for load-bearing hooks |
| Perimeters | 4–5 |
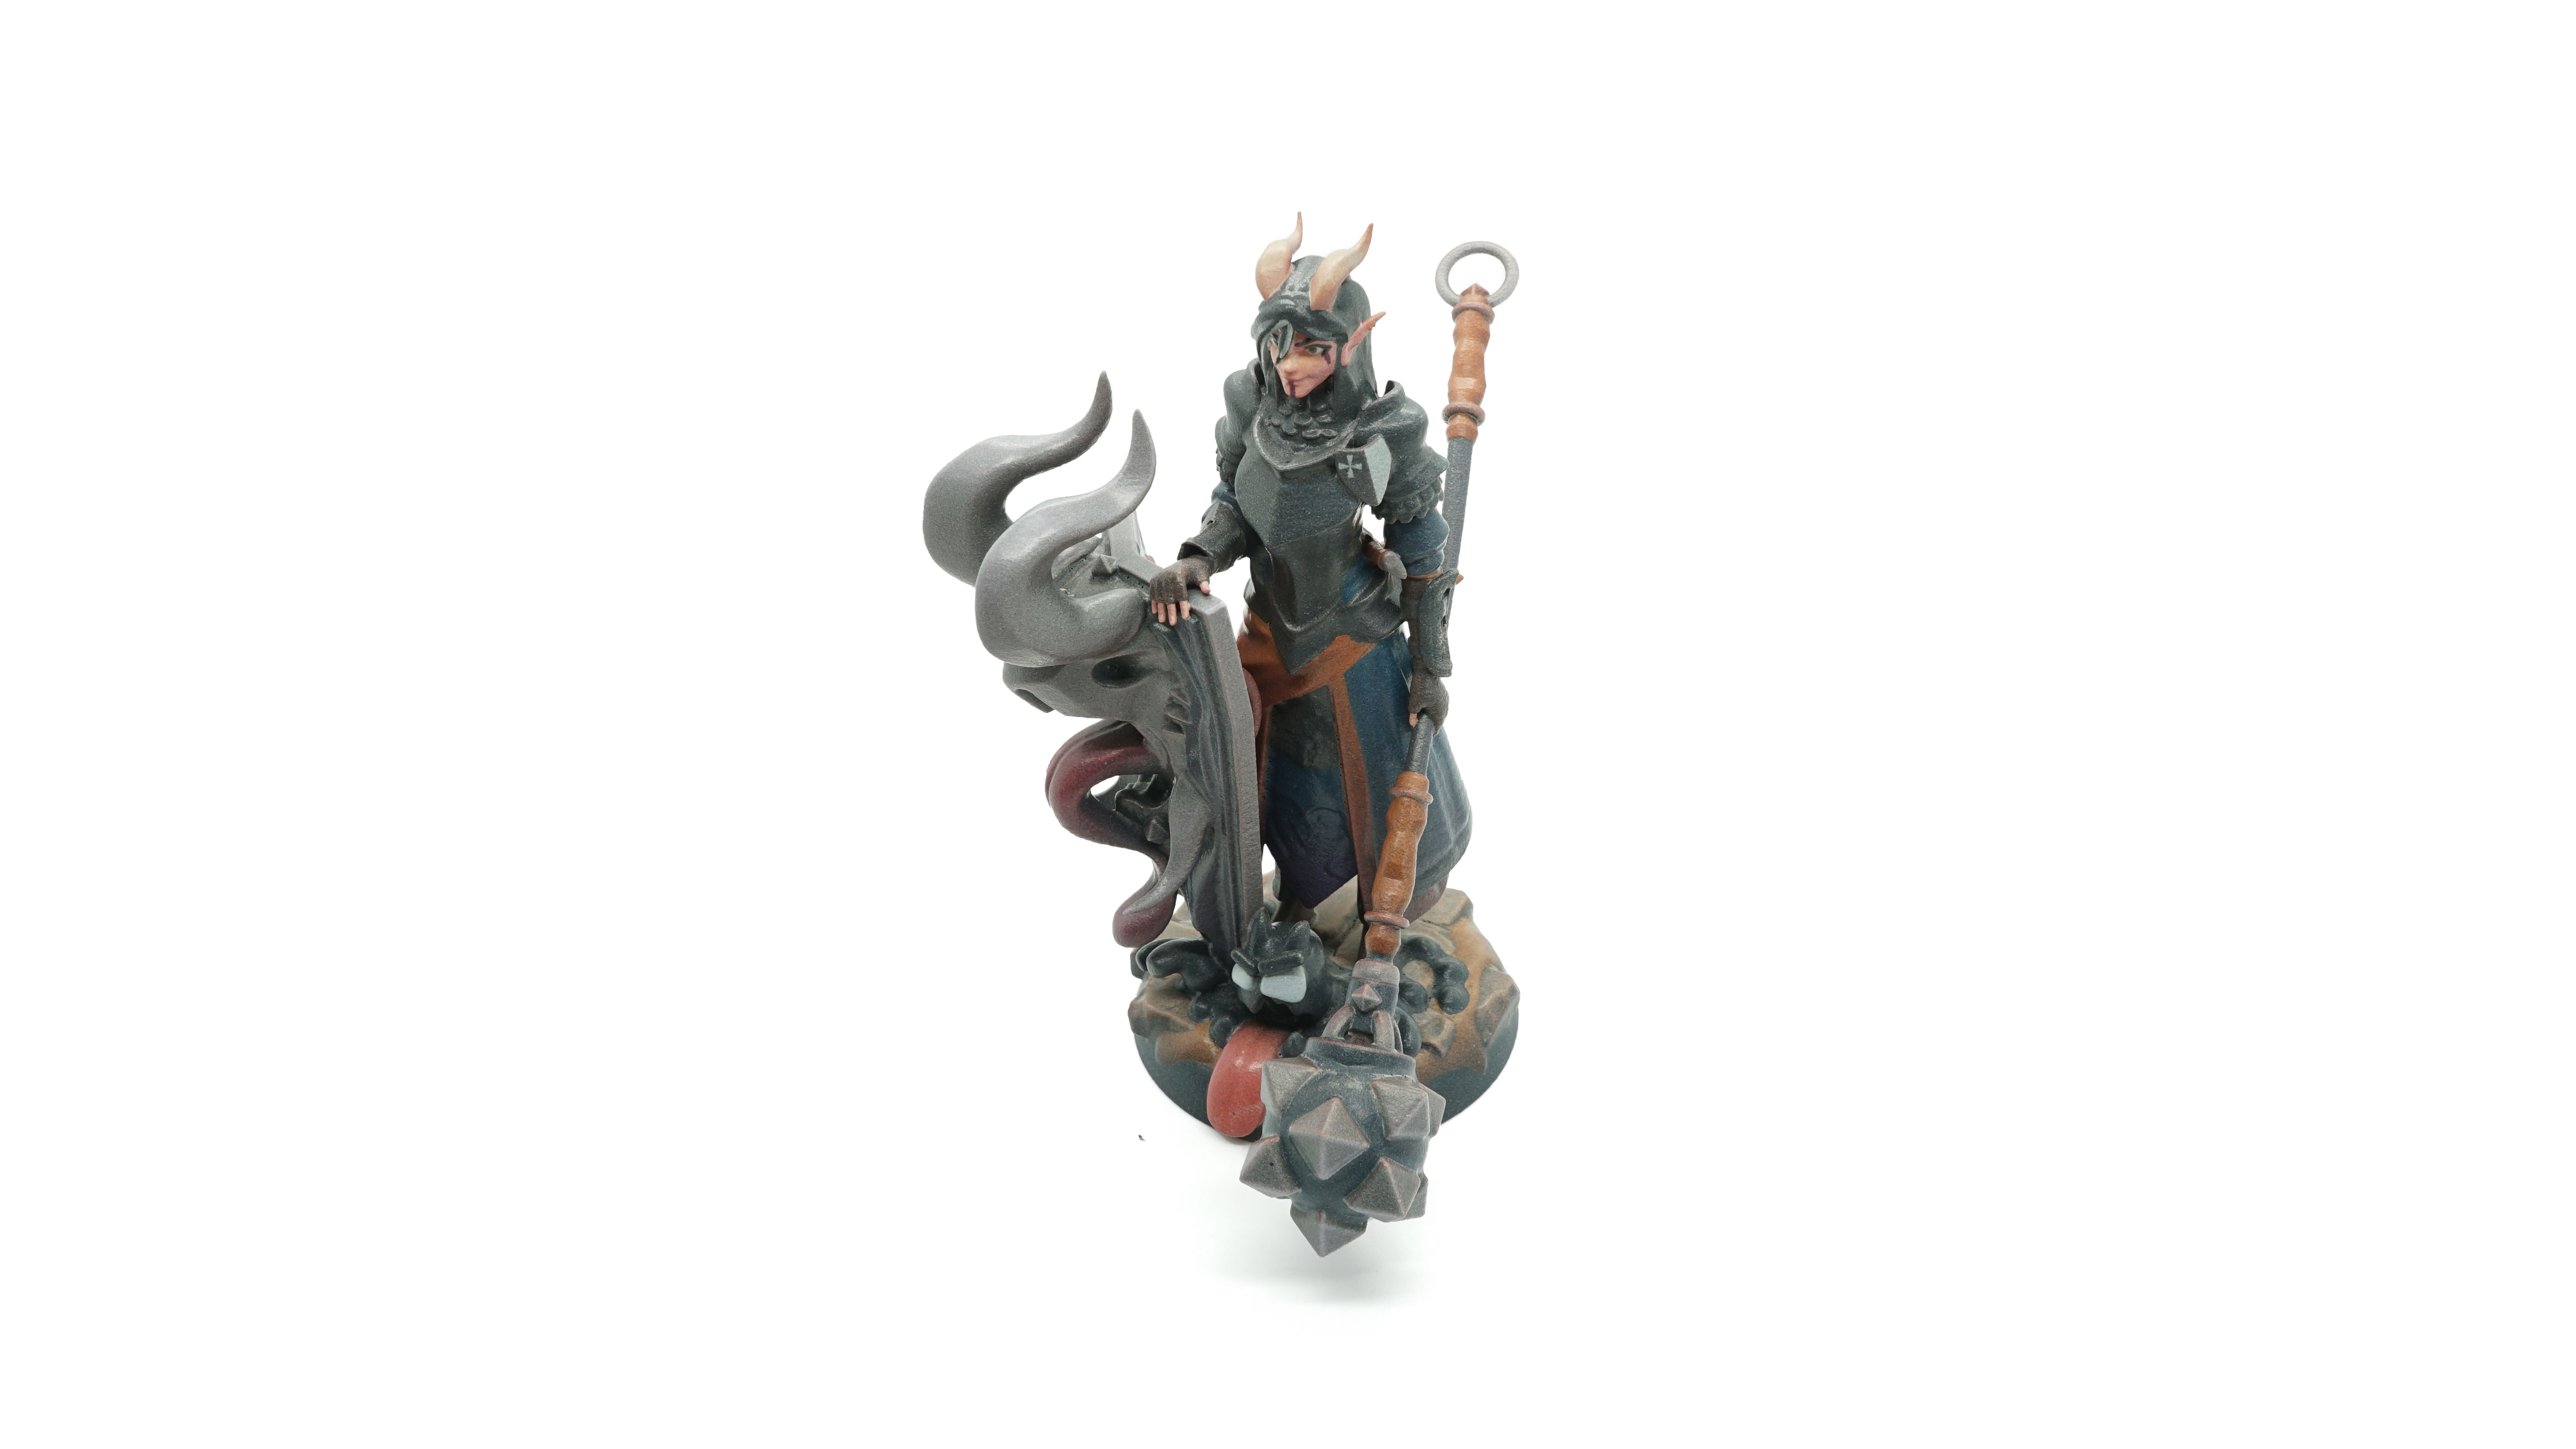
Project 3: Tabletop Gaming Miniatures
FDM printing of tabletop miniatures occupies a significant share of the hobbyist maker community in Poland, driven by the popularity of wargaming systems. Desktop FDM printers at 0.4 mm nozzle diameter can produce recognisable figures, though detail level is considerably below what SLA resin printing achieves.
Settings for Detail Optimisation
- Layer height: 0.1 mm or 0.12 mm for maximum detail retention
- Enable ironing on flat top surfaces to reduce surface texture
- Use a 0.25 mm nozzle if available for fine features; note this increases print time substantially
- Print at 30–40 mm/s for outer perimeters
Post-Processing for Miniatures
FDM-printed miniatures benefit significantly from priming with a spray filler primer (available at Polish automotive supply stores), which fills layer lines before painting. Grey primer reveals surface imperfections before the base coat is applied.
Project 4: Custom Cable Management Solutions
Desk cable management is a category where FDM excels — parts are printed to specific desk dimensions, so off-the-shelf solutions often do not fit. Common components include under-desk cable trays, clip-on desk edge cable guides, and power strip mounting brackets.
Design and Printing Notes
- Model to actual desk thickness using callipers before printing clip-on parts
- PLA is adequate for parts not exposed to heat or sustained load
- For parts securing cables behind monitors with heat output, PETG is preferable
- Test clip fit with a small test section before printing full-length trays
| Parameter | Recommendation |
|---|---|
| Material | PLA or PETG |
| Layer height | 0.25–0.3 mm (functional part) |
| Infill | 20% for cable guides, 35% for mounting brackets |
| Colour | Black or desk-matched |
Project 5: Replacement Appliance Parts
Replacing broken plastic clips, buttons, and small structural components in household appliances is one of the most directly cost-effective FDM applications. Parts that are no longer available from manufacturers or are sold only as complete assemblies are frequent candidates.
Workflow
- Photograph and measure the broken part with callipers
- Model a replacement in Fusion 360, FreeCAD, or similar (all free options)
- Print a test in PLA first to verify fit before committing to a more durable material
- Print the final part in PETG or ABS depending on temperature exposure
Notes on Dimensional Accuracy
FDM parts typically print slightly oversize on external dimensions by 0.1–0.2 mm due to filament expansion. For parts requiring close fits, reduce outer wall flow by 5% or apply a scaling correction. Many slicer applications include a hole compensation or XY size compensation setting specifically for this purpose.